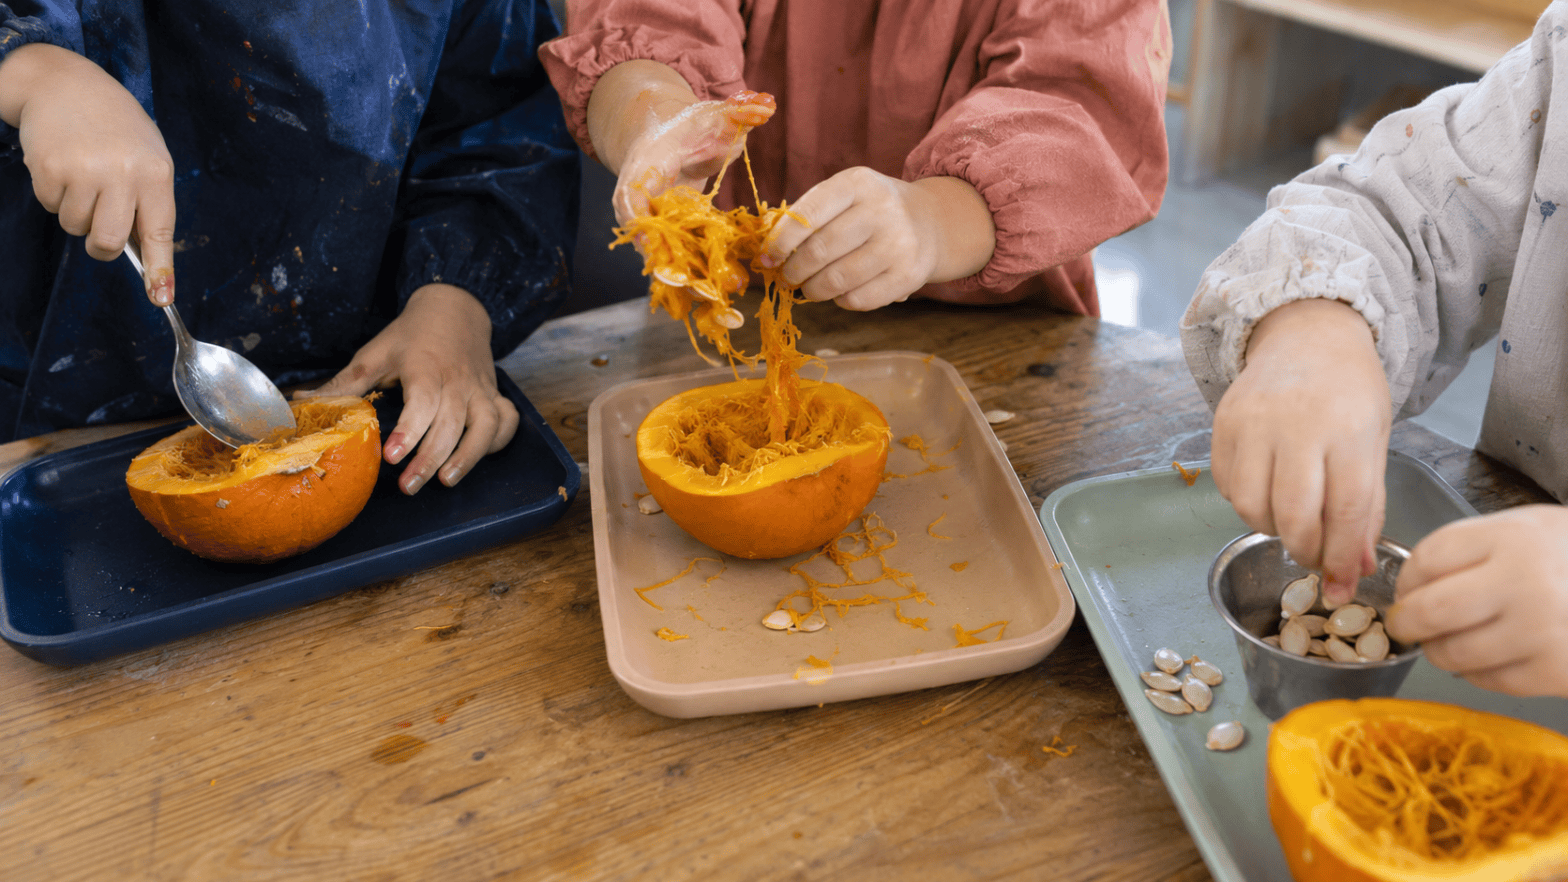
Every fall, I buy a package of mini pumpkins from Costco, cut them in
half and give one half to each child.
That is the setup.
I do not begin by showing the children what they are supposed to
make. I do not hand everyone the same worksheet or tell them exactly
where to put the seeds. We look at what is inside, dig through the
fibers, separate the seeds and talk about what we notice. Then I ask one
question:
“What do you want to do with it?”
The answers are never the same.
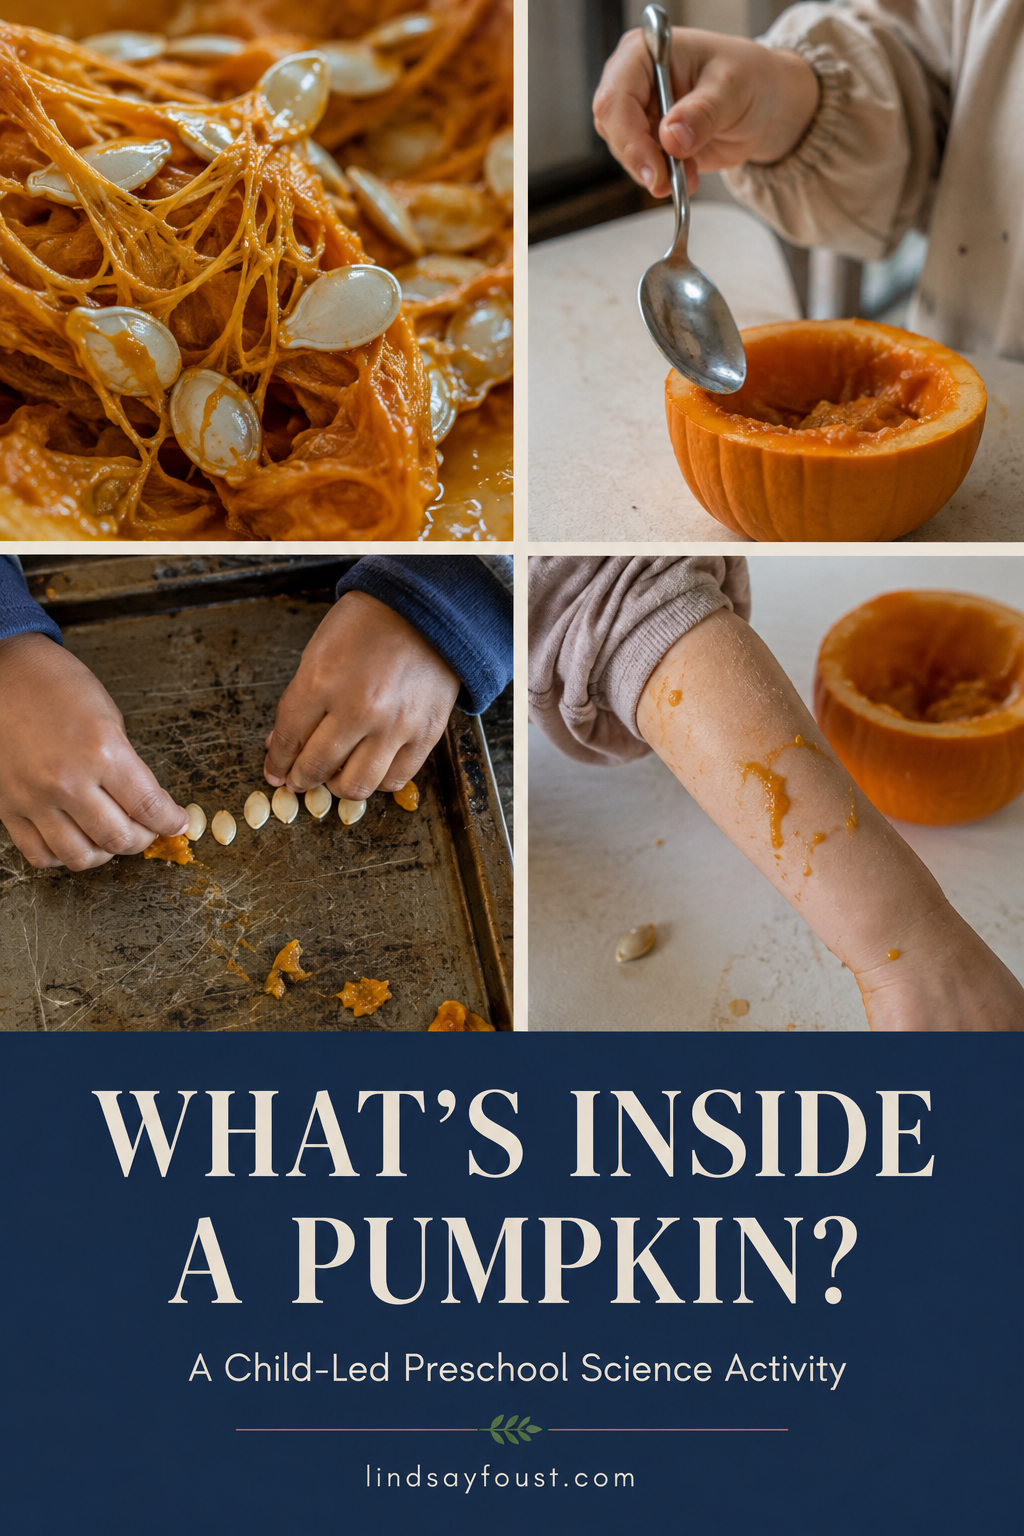
One child may carefully pull out every seed and place them in a neat
pile. Another wants to squish the inside of the pumpkin between their
fingers. Someone inevitably wants to spread the slippery fibers all over
their arms or clothes. And there is usually at least one child who looks
at the whole situation and wants absolutely nothing to do with it.
Honestly, that is part of what makes this pumpkin investigation so
good. Every child receives the same material, but the experience does
not have to look the same for everyone.
Why I Use Mini Pumpkins
A large classroom pumpkin is exciting, but only a few hands can
comfortably fit inside it at once. Mini pumpkins make the investigation
more personal. When each child has a pumpkin half, they can move at
their own pace and look closely without waiting for a turn.
They can hold it, smell it, scrape it, pull out the seeds or simply
observe. A child who is unsure about the texture can watch nearby
without another child reaching across them. A child who wants to
investigate every sticky strand has the time and space to do that
too.
The smaller size also makes the activity easier to manage at a
preschool table. I usually place the pumpkin halves on trays or shallow
containers so the children have a defined work space and the table does
not immediately become one giant pile of pumpkin.
What You Need
- One mini pumpkin for every two children
- A tray, shallow bin or large plate for each child
- Bowls or containers for collecting seeds
- Child-safe scoops, spoons or craft sticks
- Table covering, if desired
- Smocks or oversized shirts
- Paper towels and access to handwashing
An adult should cut the pumpkins in half before the activity begins
and keep all sharp tools out of the children’s reach. Follow your
program’s policies for food activities, allergies and family
permission.
Before You Cut the Pumpkins
If time allows, let the children investigate the whole pumpkins
first. I might place them in the middle of circle time or on the science
table and ask:
- What do you notice?
- How does the outside feel?
- Do all of the pumpkins look the same?
- What do you think is inside?
- Do you think the inside will feel like the outside?
This is not a quiz. I am not waiting for one correct preschool
answer. I want to hear their theories before they can see what is
actually there.
You can also compare the pumpkins by size, color, shape and weight.
Some children will immediately notice tiny scratches, bumps or curved
stems that adults might overlook. Those observations are the beginning
of the investigation.
Open the Pumpkins and
Let Them Explore
After I cut the mini pumpkins in half, I give each child one half on
a tray. We pause before digging in and look closely at the cut
surface.
The children can see the firm outer rind or skin,
the orange flesh or pulp, the stringy
fibers and the seeds tucked inside.
Pumpkin exploration is a simple, concrete way to introduce those
plant-part words while the children can actually see and touch what the
words describe. For an extension of this, kids can you my life cycle and parts of cards from my play beyond pasta pumpkin unit.
Then the children begin.
Some use a spoon. Some decide their hands work better. Some separate
every seed from the fibers. Some squeeze everything back into the
pumpkin. Some turn the pumpkin over and investigate the outside
instead.
I stay close, describe what I see and respond to their ideas:
- “You found a seed hiding under the fibers.”
- “That part feels slippery to you.”
- “You are making one pile for seeds and one pile for everything
else.” - “You do not want to touch it yet. You can use the spoon or
watch.”
The goal is not to make every child interact with the pumpkin in the
same way. The goal is to provide a real object worth investigating and
enough freedom for their curiosity to lead somewhere.
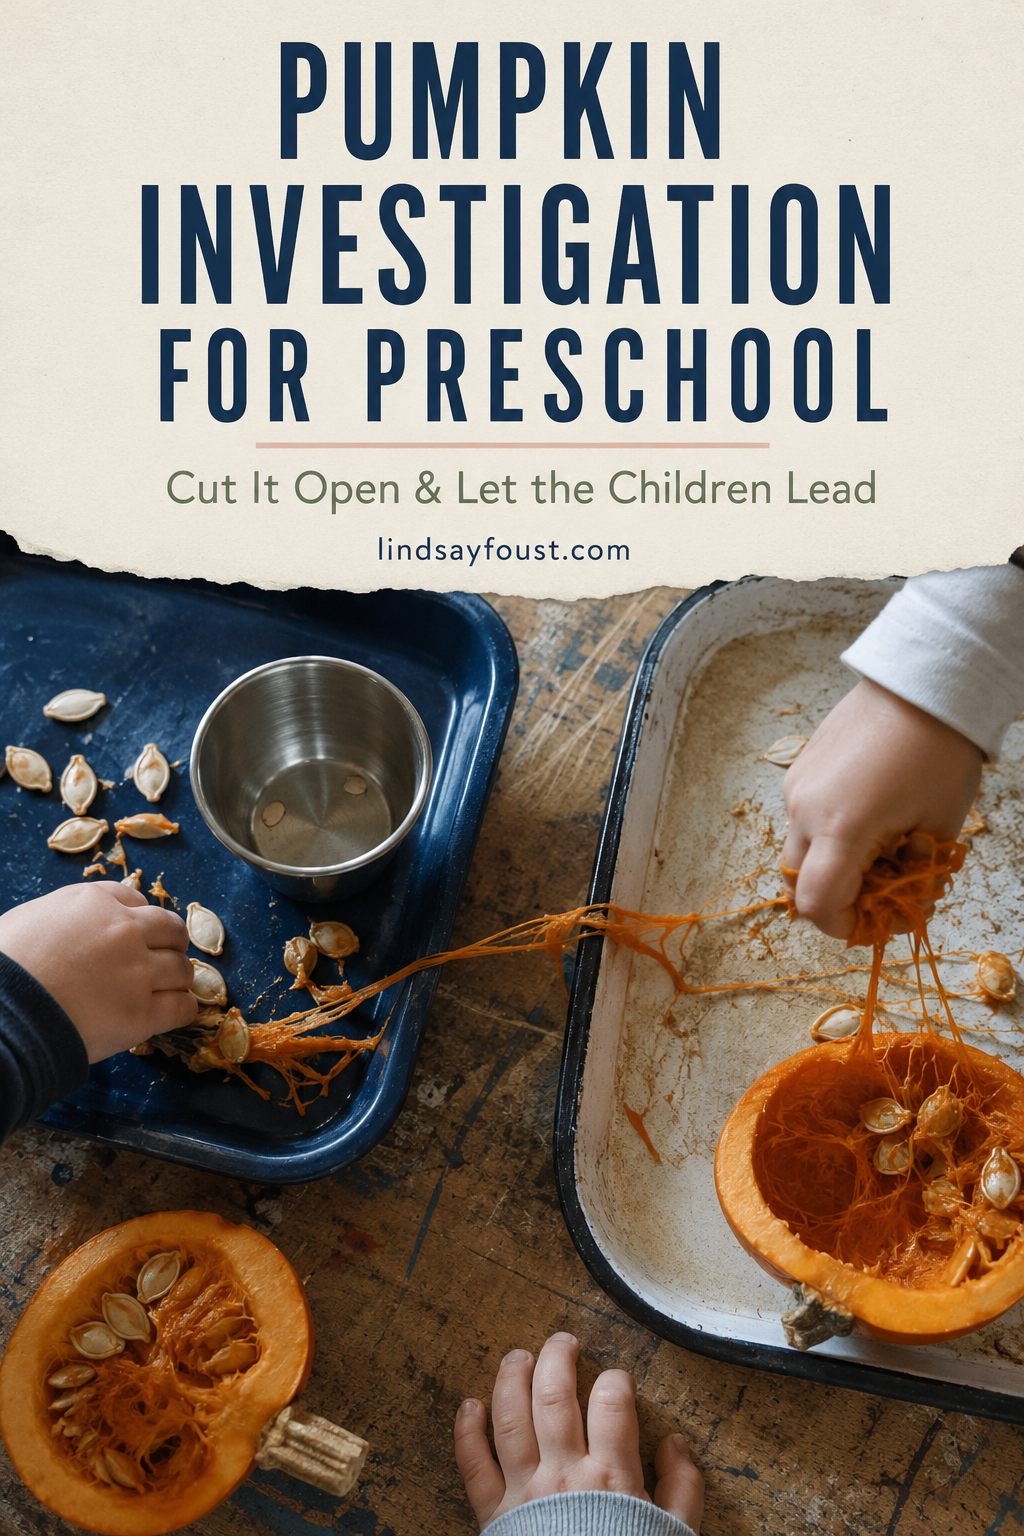
Ask: “What Do You Want to Do
With It?”
This is the part that changes the activity from a teacher-directed
pumpkin lesson into child-led learning.
Once the children have had time to look inside, I ask what
they want to do with their pumpkin. I do not give a
list of approved ideas first because I want to hear what they
imagine.
Their plans may be scientific, artistic, sensory, dramatic or
completely unexpected. A child may want to count the seeds. Another may
want to make “pumpkin soup.” Someone may arrange the seeds into a
design, fill and empty the pumpkin repeatedly or rub the pulp over their
hands and arms just to experience the texture.
As long as the idea is safe and manageable in the classroom, I try to
let the child follow it. If an idea cannot happen, I acknowledge it and
help the child find a nearby possibility without replacing their plan
with mine.
This is where the best conversation often happens. Children explain
their plans, change their minds, borrow ideas from one another and
discover new problems to solve. The pumpkin provides the spark, but the
children decide where the investigation goes.
What About the Child
Who Will Not Touch It?
They are still participating.
Pumpkin fibers can feel cold, wet, sticky and slippery. That
combination is delightful to some children and deeply unpleasant to
others. I do not want the activity to become a test of who is willing to
tolerate the mess.
When a child is hesitant, I model that it is okay to get messy. I dig my hands into the pumpkin, let the fibers hang from my fingers, rub some on my arms and tell them, “It’s okay.” Most of the time, seeing me genuinely enjoy the mess makes them curious enough to move closer or give it a try. I still do not force participation—the modeling is an invitation.
A child can investigate without placing both hands inside the
pumpkin. Offer a spoon, scoop, craft stick or pair of child-safe tongs.
Let the child hold the outside, smell it, look closely, describe what
another child is doing or simply watch until they feel ready.
“No thank you” is information too. It tells us something about how
that child experiences the material. Respecting that response keeps the
science table safe enough for the child to approach another unfamiliar
texture in the future.
Easy Ways to Extend the
Investigation
You do not need to turn this into five separate teacher-led
activities. Watch what the children begin doing and add materials that
support those ideas.
Seed Sorting and Counting
Place small bowls near the table for children who naturally begin
collecting seeds. They can make groups, compare piles or count as many
as they choose. Exact totals are not the point for younger preschoolers;
the meaningful math is in separating, grouping, comparing and using
number words during real play.
Pumpkin Parts Display
Save one intact half for the science area. Place it on a tray with
simple labels or photographs for the stem, rind, pulp, fibers and seeds.
Revisit it over a short period and ask what has changed. Dispose of it
promptly according to your classroom’s sanitation practices rather than
leaving decaying food accessible to children.
Open-Ended Pumpkin Art
Offer paper beside the seeds and pulp rather than presenting a
finished example to copy. Children might press, drag, arrange or make
prints with the pumpkin materials. The results will be different because
the children’s plans are different.
Pumpkin Pretend Play
Add bowls, scoops and spoons if children begin making soup, pie or
another pretend recipe. Write down their words as a class recipe or
menu. You do not need to announce a dramatic-play activity in advance;
it can grow naturally from what the children are already doing. Play Beyond Pretend Pumpkin Patch & Market makes the set up easy.
A Printable
Follow-Up—If Your Children Want One
After the real investigation, children who want to continue designing pumpkins can use my free Loose Parts Pumpkin Play printable.
I would use it as an optional extension, not as a replacement for
opening a real pumpkin. The printable gives children another way to make
individual choices while the hands-on experience gives them the
textures, smells, weight and surprises that paper cannot provide.
The Learning Is in
Their Different Answers
It would be much easier to cut open one pumpkin, point to the parts
and move on. But giving each child a pumpkin half changes the
experience. They are not only looking at my pumpkin or waiting for me to
tell them what matters. They have something real in front of them that
they can investigate for themselves.
One child sorts. One squishes. One pretends. One watches from a safe
distance. None of those responses makes the activity unsuccessful.
The best part comes after the pumpkin is open and the teacher stops
controlling what should happen next:
“What do you want to do with it?”
Then we listen.
For another child-led fall investigation, explore my apple activities for preschool.
For more seasonal classroom inspiration, see the
fall activities I have used in my play-based preschool
classroom.
For more hands-on preschool ideas, classroom activities and new
resources, join the
learnplayrepeat email list.
To extend the investigation into other parts of the day, use the Pumpkin Patch Dramatic Play Center for picking, weighing, packing, selling, and serving pumpkins, or bring the theme to group time with Pumpkin Songs for Preschool Circle Time.
If you want the science, dramatic play, and songs together, they are included in the Pumpkin Activities for Preschool Bundle.


2 thoughts on “Pumpkin Investigation for Preschool: Cut It Open and Let the Children Lead”